
It is the summer of 2013 and Felix and Fingers know that there’s been one thing missing from their show…the phenomenon known as Piano Shells. What are piano shells you ask? Read this. But unlike other companies who might take the easy route and buy a cheap set of shells, F&F wanted to be the best in every aspect, which of course had to include the best piano shells. So the solution? Simple! Make your own shells
How To Make Piano Shells
Well, maybe it wasn’t so simple.
To start the process, we had to locate two real baby grand pianos. Luckily we got hooked up thanks to our friends at Piano Trends in Crystal Lake Il. Piano Trends were actually the catalyst for Felix meeting Fingers back in 2010…so we owe them big time 🙂
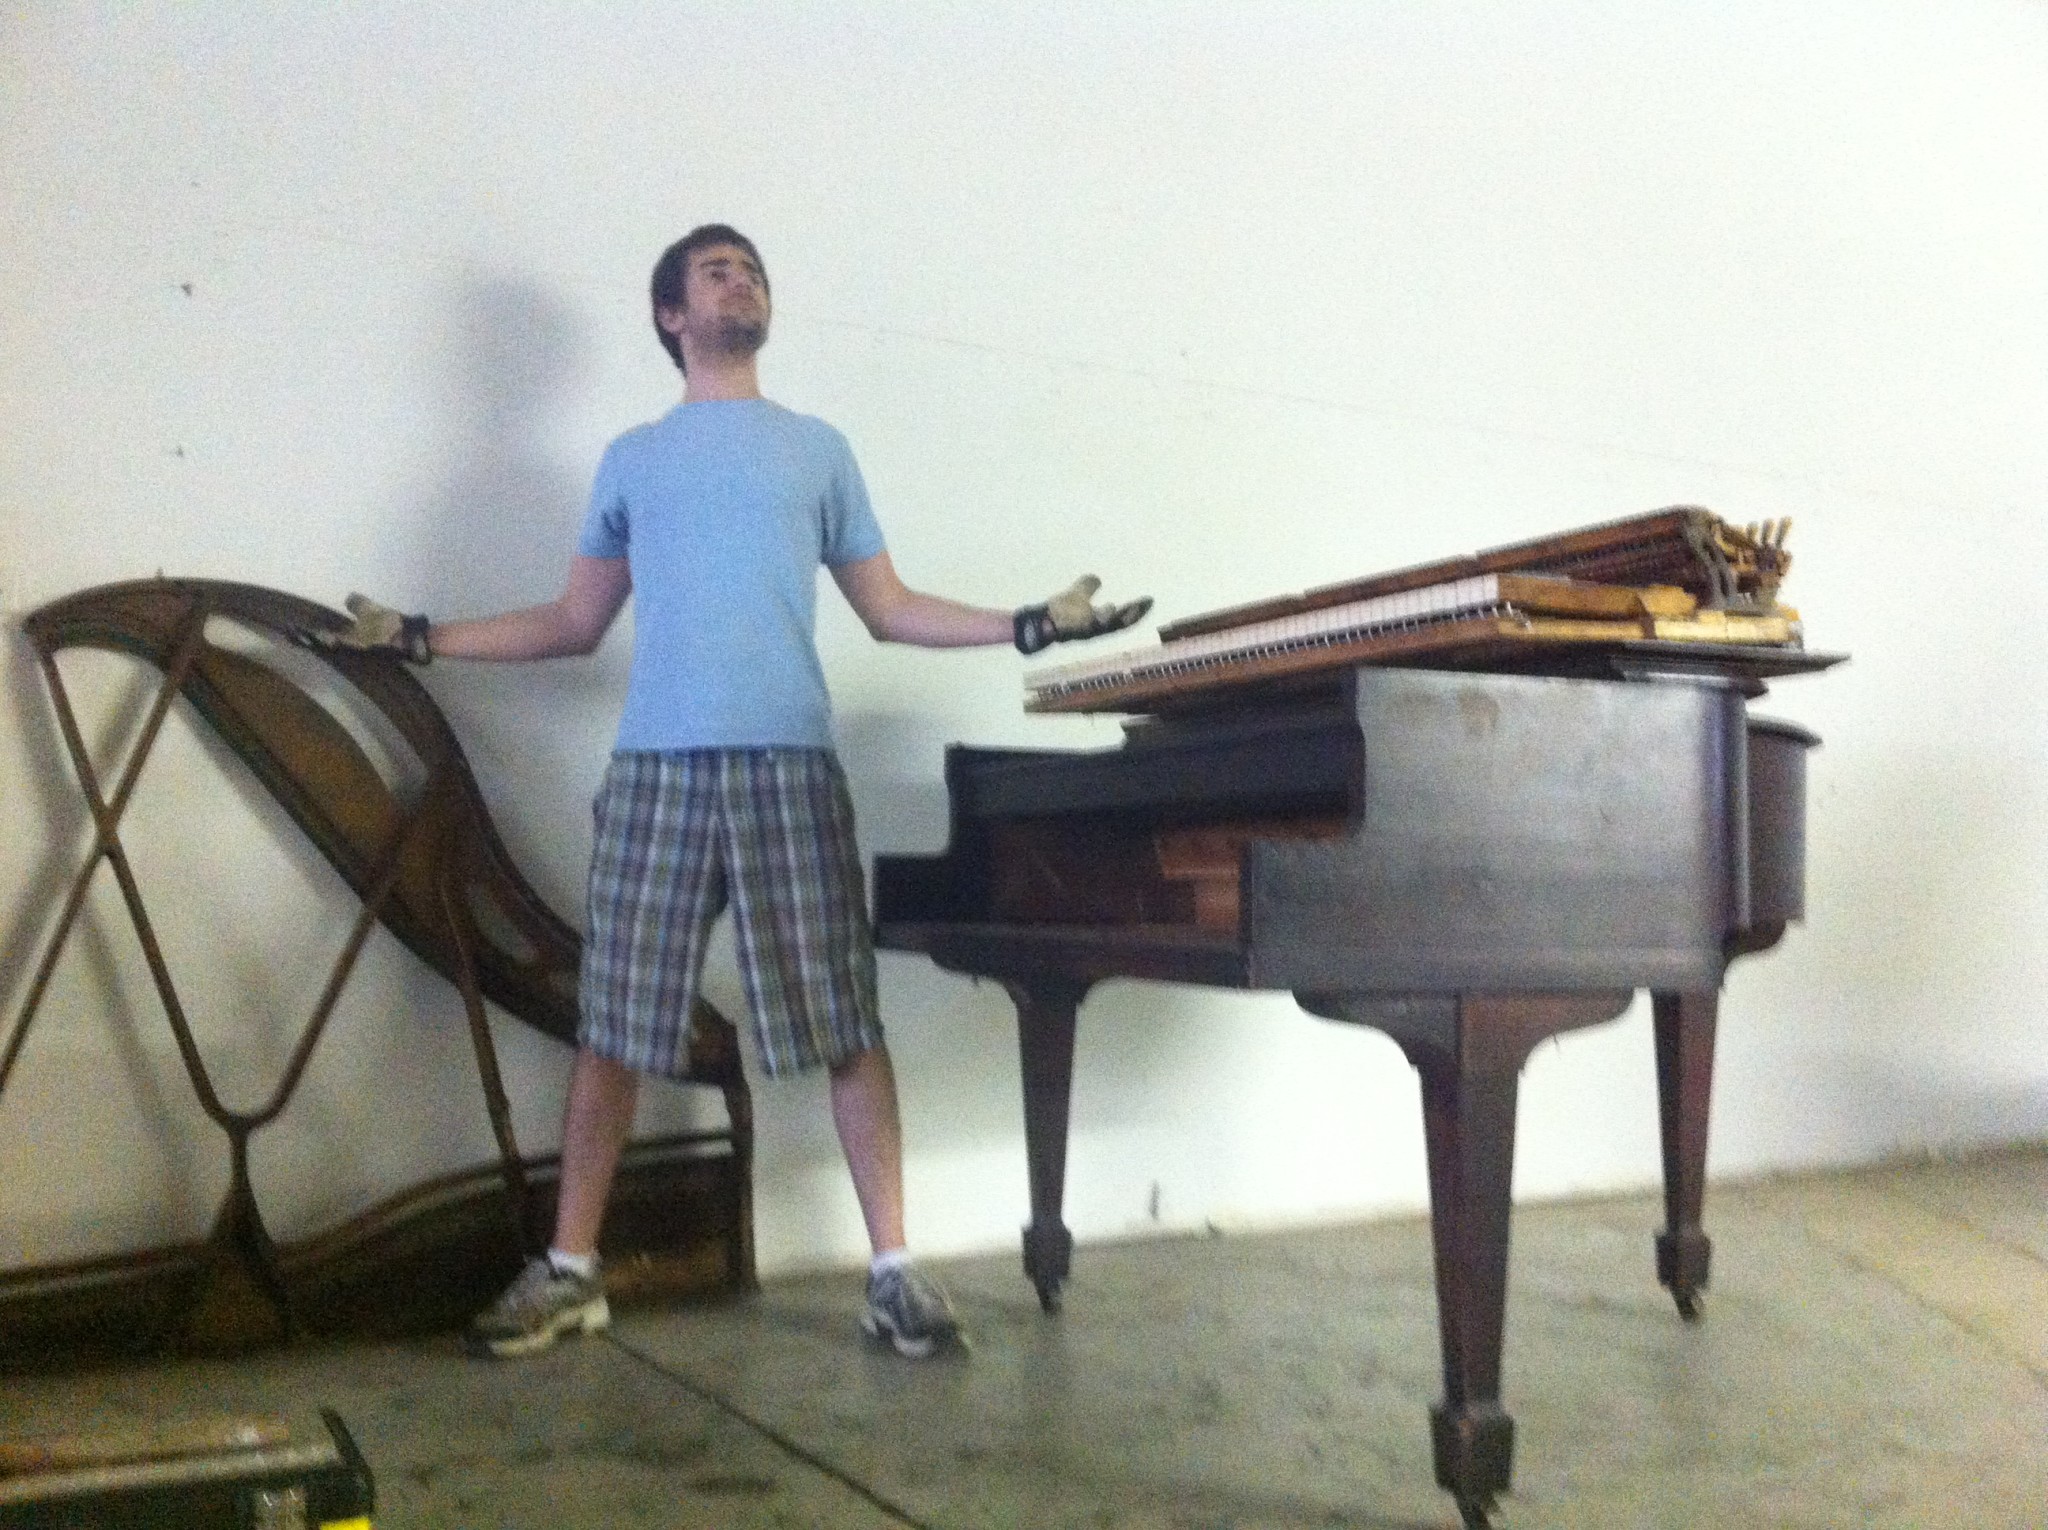
The Action and Plate Removed
After the shells were secured, Piano trends was kind enough to let us use their warehouse to begin modifications. By modifications, we mean extreme weight reductions.
The other essential part of the puzzle was the help provided by Matt Potts (Fingers’ Brother). Aside from having a penchant for taking stuff apart, Matt runs Potts and Pans Steel Band and Educational programs. Definitely a cool thing to check out if you have a moment – I know they play weddings as well!
Matt and Fingers slowly stripped down the piano. I’m sure there are right and wrong ways of doing what we did, but seeing as we now have beautiful piano shells, I’ll assume we did everything right.
Carefully Disassembling a Piano
Ok, so we weren’t careful. This video shows Fingers cutting piano strings with a bolt cutter. Why? Because it seemed like fun!
However, removing the strings is a necessary step. The strings are attached to the “plate”, a huge cast iron brace that is needed to support the tremendous tension of the piano strings. It was the invention of the “plate” that made the piano-forte possible. It was also the invention that made the piano freakishly heavy.
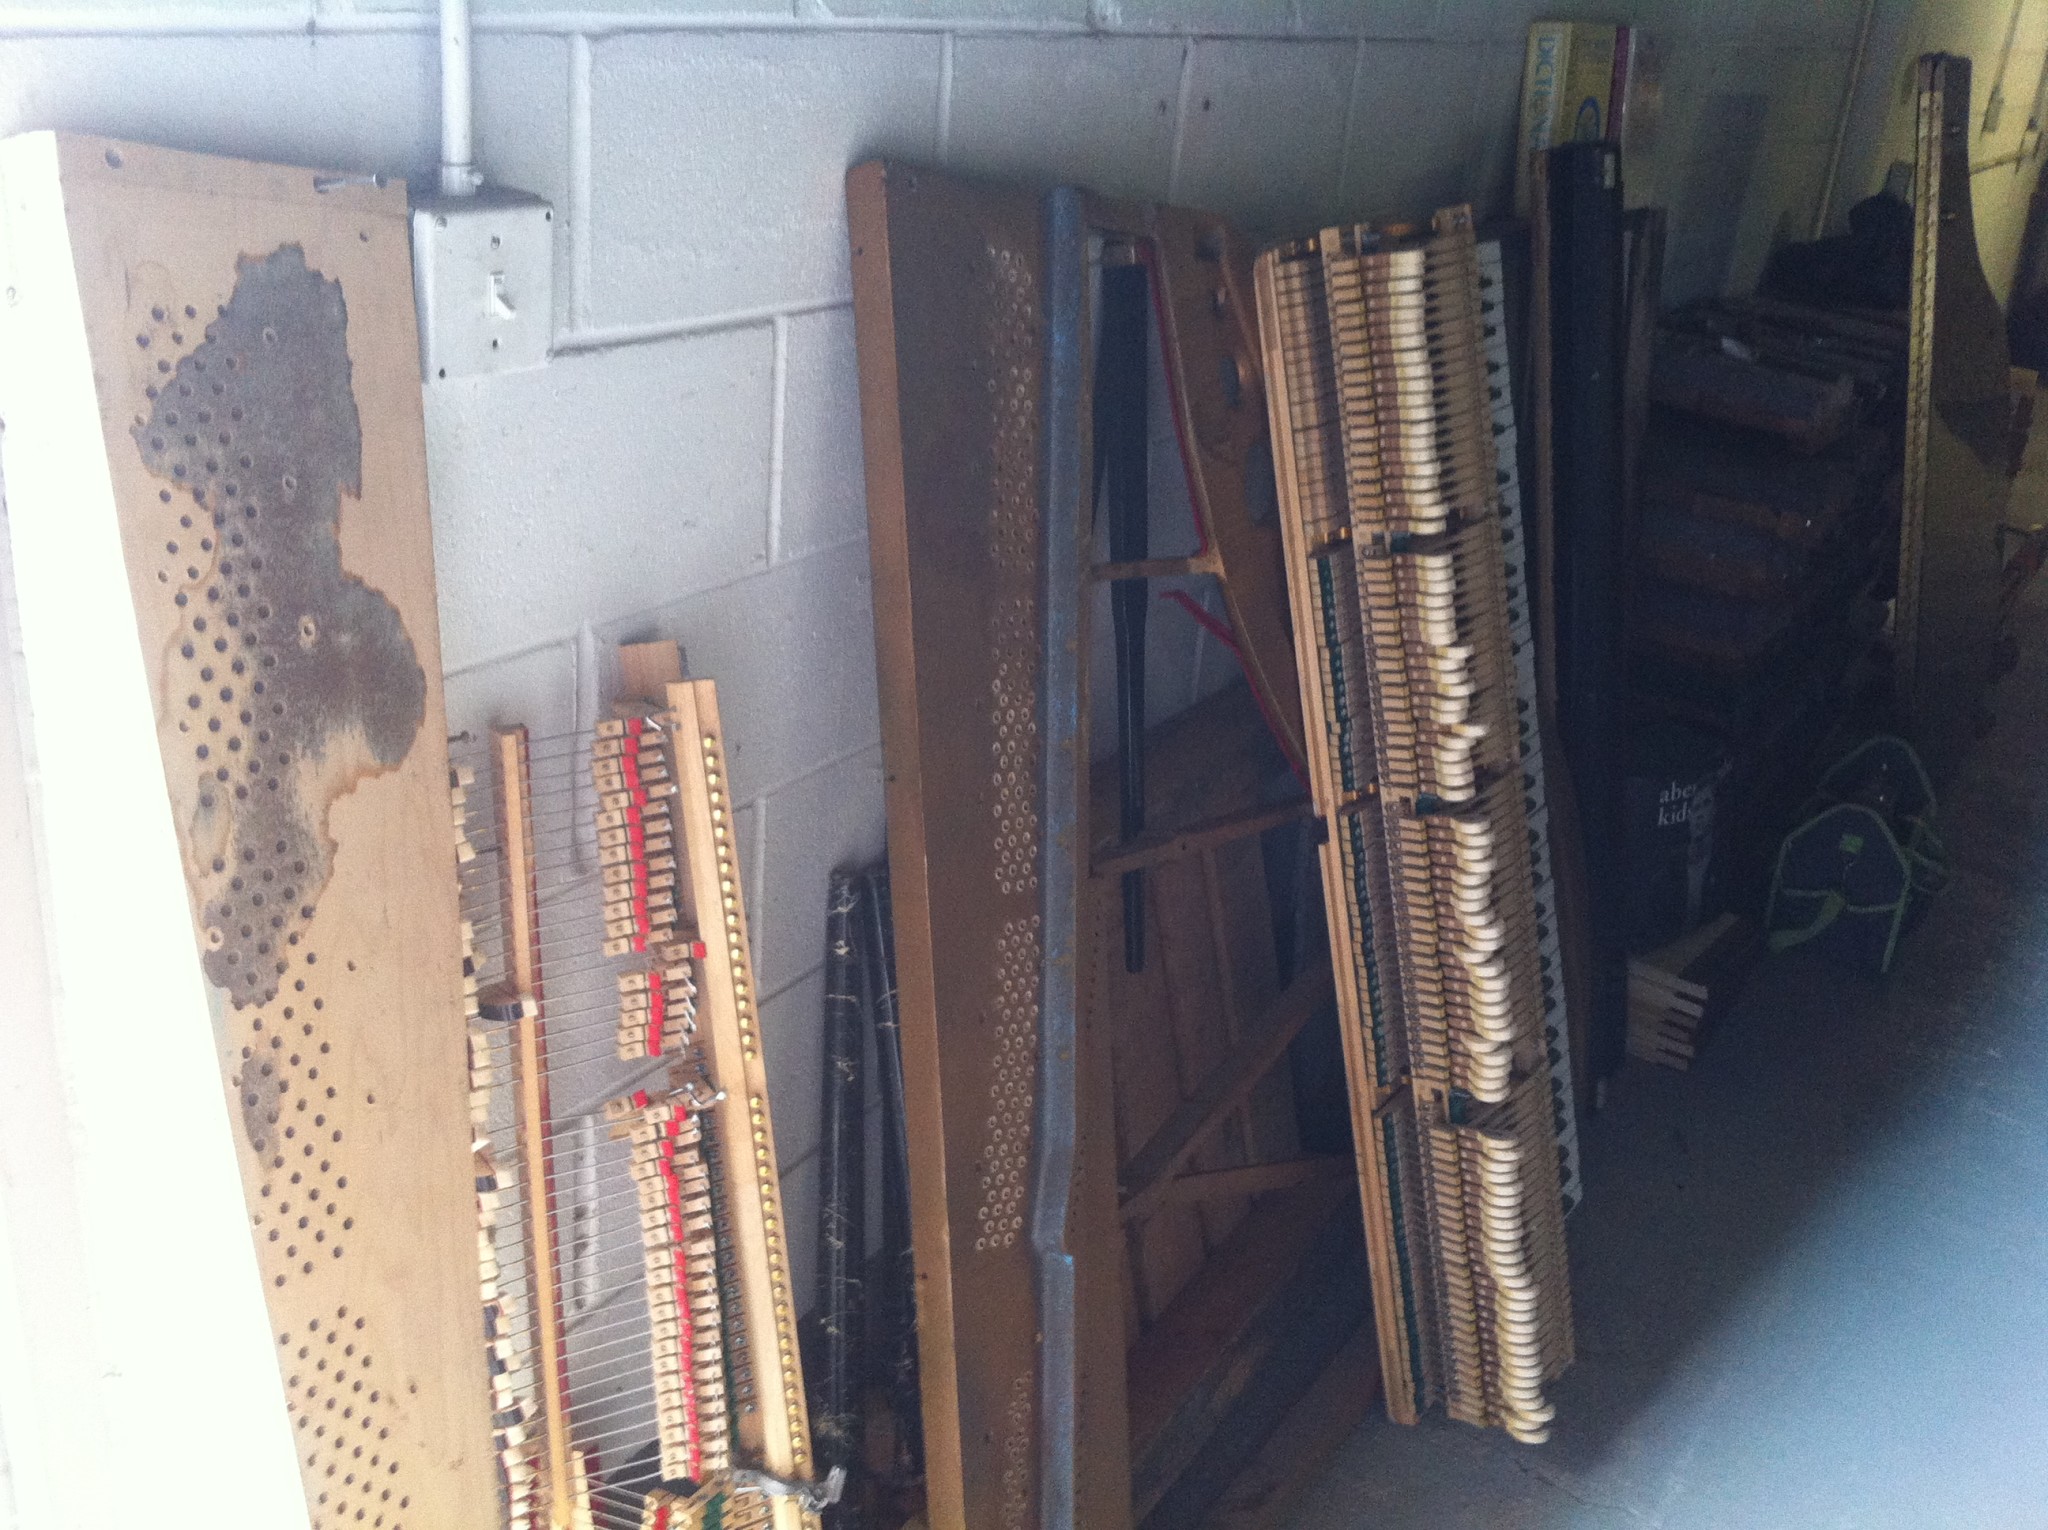
The Pin Block and Action
The piano strings are attached to the plate via “pins” that screw through the plate and into the “pin block”, which allow the piano tuner to tune a piano by tightening and loosening the strings. This is done by turing the pins, similar to how one would tune a guitar. In order to remove the plate (in our instance at least), each pin needed to be removed from the block. This was likely the most time consuming portion of the piano destruction…I mean…mindful lightening procedure.
Getting Action
The “Action” is the mechanism that actually “plays” the piano. This is a single contraption consisting of the keys and hammers. It’s unbelievably complex and neat to look at…or through into a dumpster. The action itself actually is very easy to remove. By removing the trim work around the keys, the action will literally slide out in one piece. This process can make piano repair significantly easier seeing as a technician would not need to transport an entire piano.
Step 2: Grab The Saw
Matt has a work shop where he tunes and stores his pans (along with holds rehearsals). In an act of brotherly love, the pianos were allowed to spend the next part of their journey at his shop in Woodstock IL. This is where they were met with a sawzall and relieved of all extraneous supports, sound boards, and wood trim work. The two pianos we worked with were different brands with slightly different specs, making the process unique with each shell. The larger shell housed the keyboard beautifully, but needed some fancy wood working to retrofit a clamp that would securely attach the piano legs. The smaller shell was actually a bit narrow and required a lot of work with a router to widen the platform just enough to fit the keyboards. Many days resulted in Fingers returning home covered in saw dust.
The shells were then completely sanded and prepped for the most important step: paint!
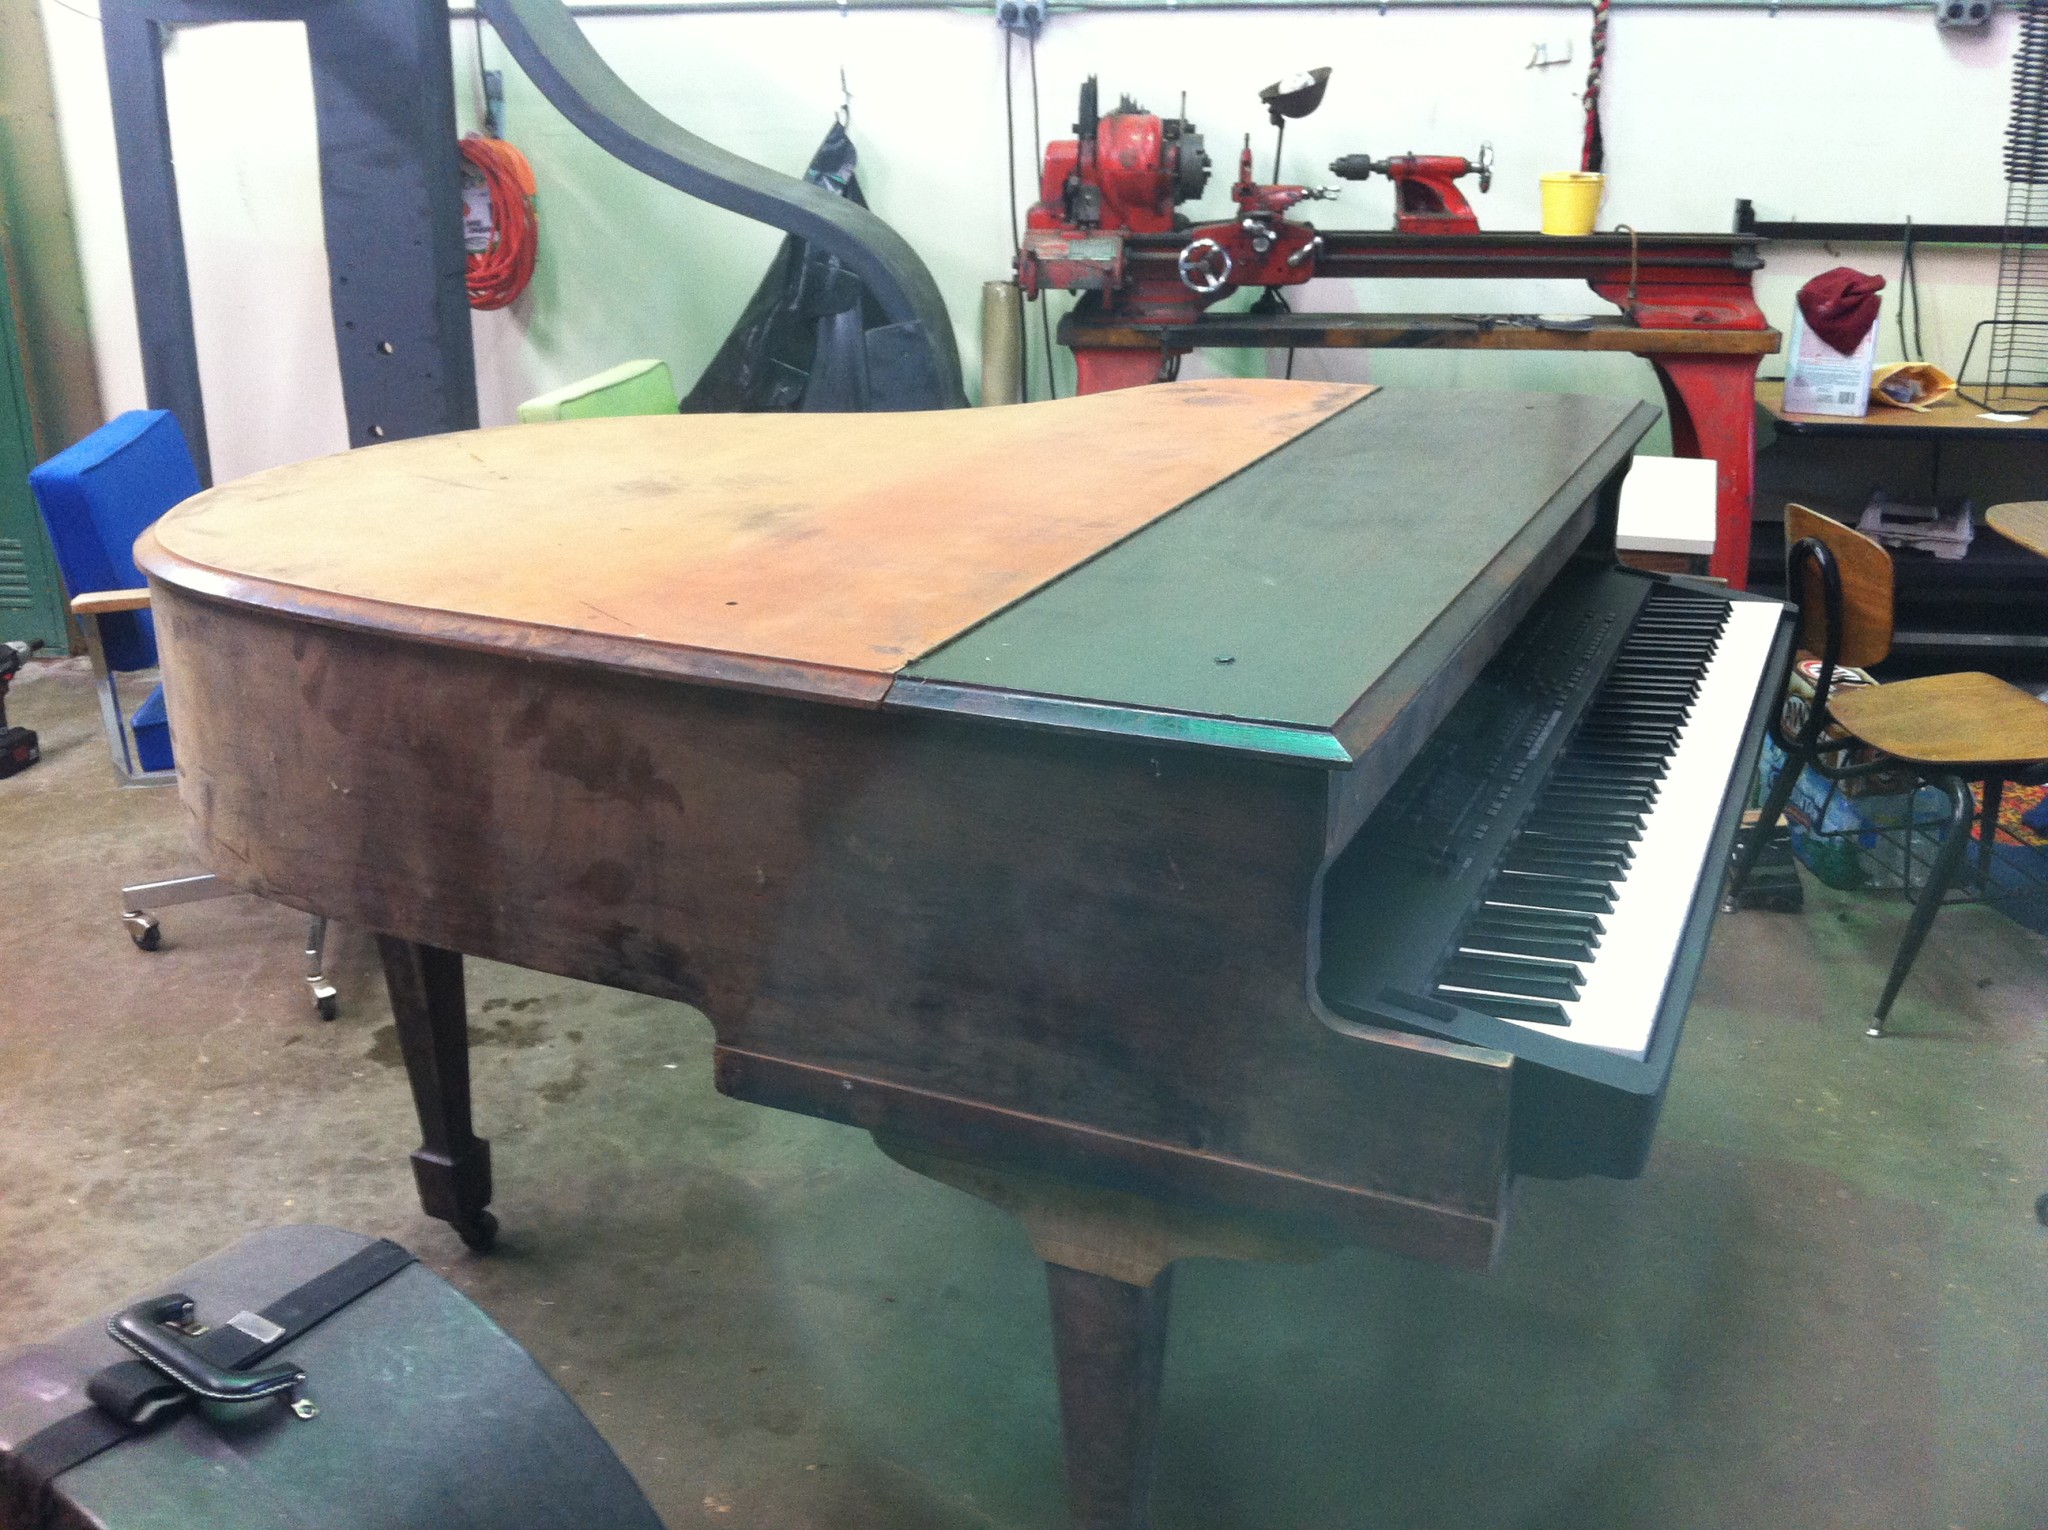
Pre Paint…doesn’t look so sexy.
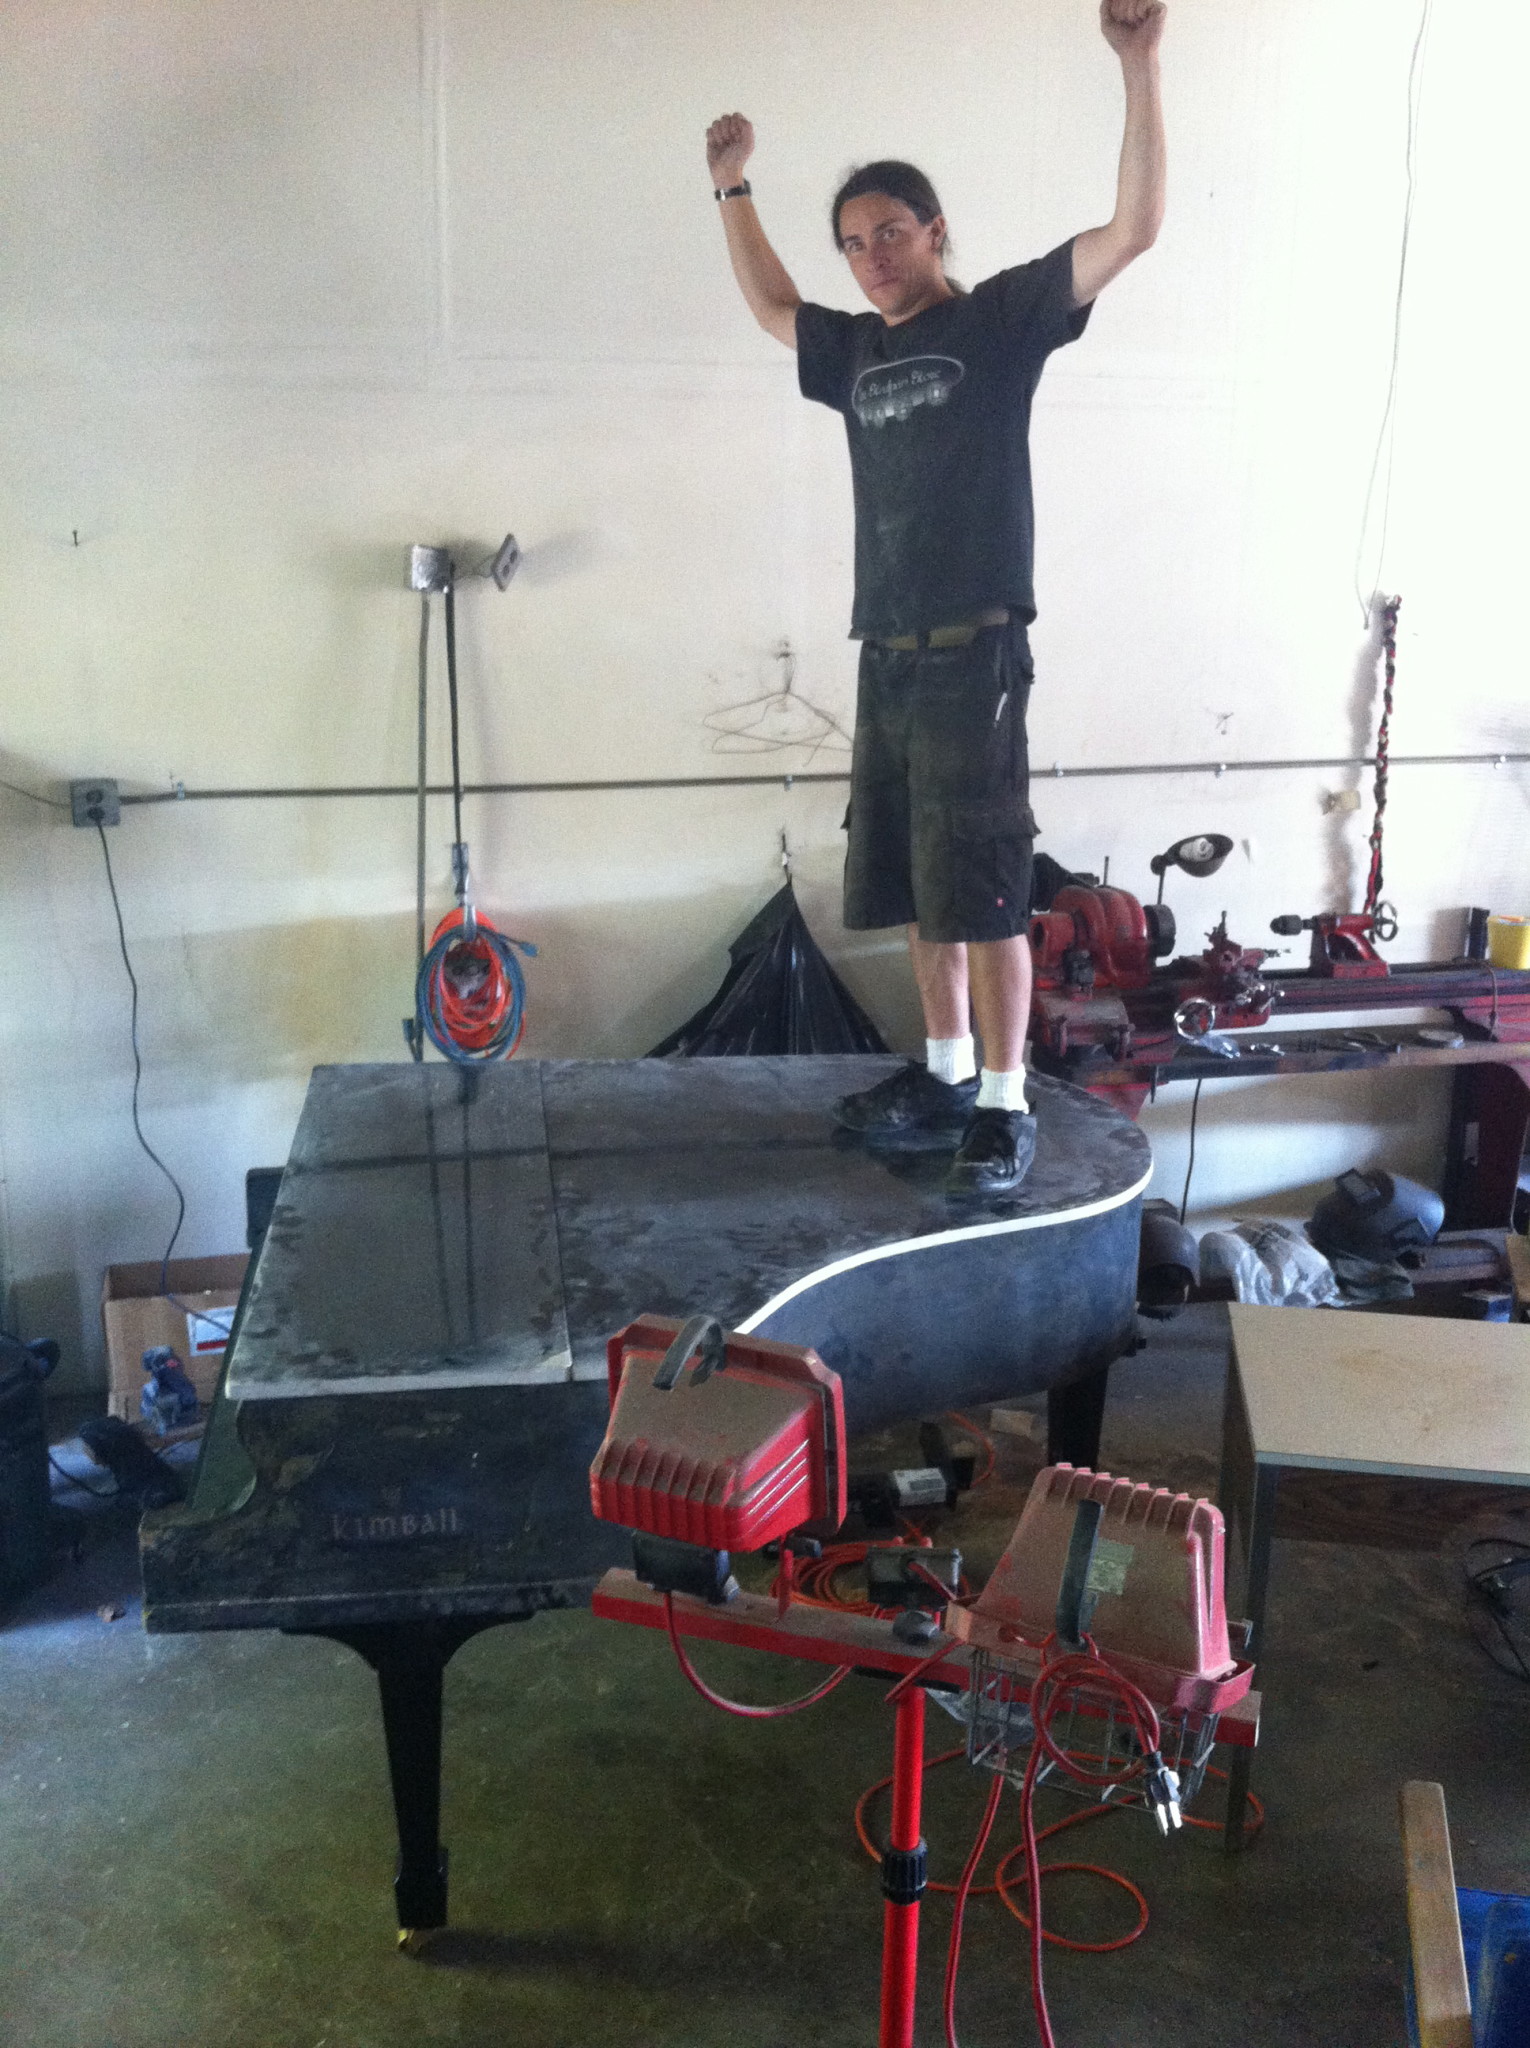
Matt Standing on a Shell
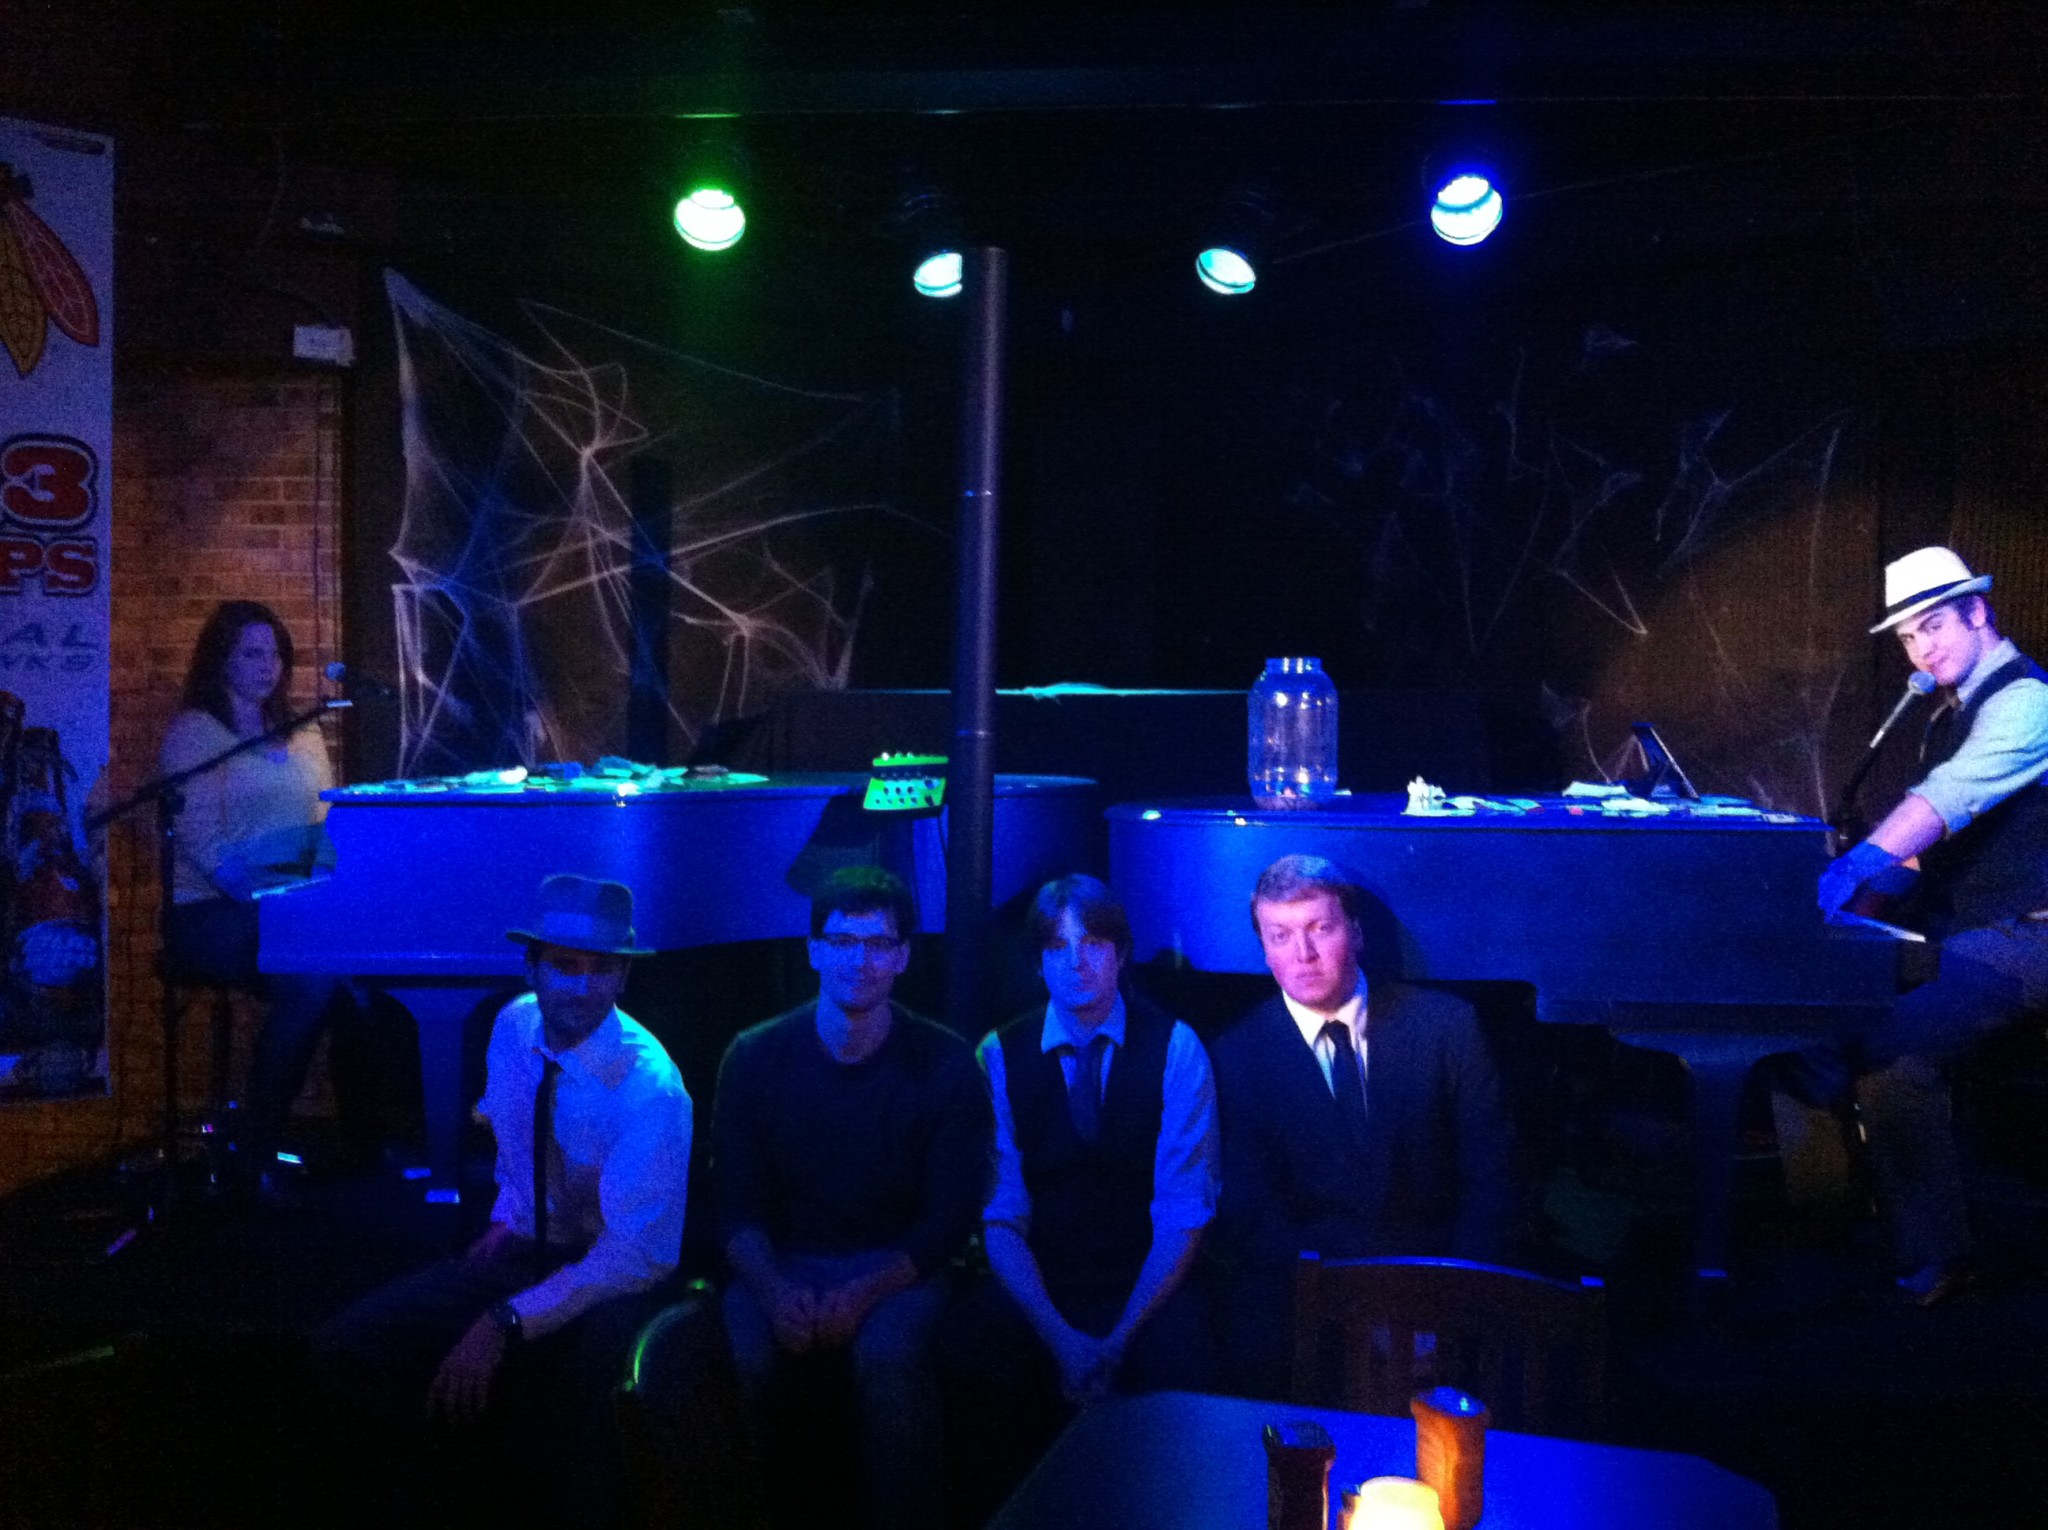
Real Dueling Piano Shells
The paint work was done by Sharp Auto Body in Island Lake IL. Louis Sharp is a great friend and super generous supporter of Felix and Fingers! The shells were primed and painted blue. It was amazing to see the transformation! We immediately took the shells for a test drive the same day the paint dried and set them up at Sideouts in Island Lake Il. The stage barely fit the set up, but gee golly did they look nice 🙂
The Difference
If you want to know what makes our shells better than the rest, click the link at the top of the page. Unlike most companies, we won’t settle for cheap shells. We don’t want to set up 2′ long shells that look nothing like pianos. Your event deserves more! Our shells are obviously made from real pianos, and every event we bring them to results in people asking, “how did you get real pianos on stage”? “Do you move them yourselves”?
We do actually move them ourselves via our trailer: “Audrey” (who is likely to receive a blog of her own).
But the point is this…if you want the full dueling pianos look and experience, you need real shells. Don’t be fooled by quotes that include “shells”…the free add ons don’t look nearly this nice. F&F holds our product to the highest standard and needed the shells to match!
For questions about bookings, just reach out! The shells can be added to any contract at anytime pending availability. Just reach out here!
Company Photo at Shell Unveiling
Be the first to leave a review.


